Installing an iPhone lens protector should be a five-minute job. In practice, it tends to be the kind of thing people do twice because the first attempt goes wrong in some specific and avoidable way. I’ve been through most of the failure modes at this point, and the same problems come up repeatedly — usually in the same sequence.
Here’s what actually goes wrong and what to do about it.
Dust Under the Protector
This is the most common failure and the most frustrating, because it often isn’t visible until after you’ve already pressed the protector down and committed. A single dust particle that lands on the adhesive side between when you peel the backing and when you apply the protector is enough to create a visible bubble that can’t be pushed out.
The fix starts before you even open the package. Do the installation somewhere with minimal air movement — not near a fan, not near an open window, not just after disturbing any dusty surface. Bathrooms work well because running the shower for a minute beforehand settles airborne dust. The time between peeling the backing and applying the protector should be as short as possible.
If dust does get under the protector before you press it down fully, lift the corner immediately while it’s still repositionable and use the adhesive strip that most lens protector kits include specifically for this — it picks up dust from the adhesive surface without leaving residue. Don’t use tape from around the house; the adhesive is usually too strong and may leave residue on the protector’s adhesive layer.
Alignment Going Off Before You Commit
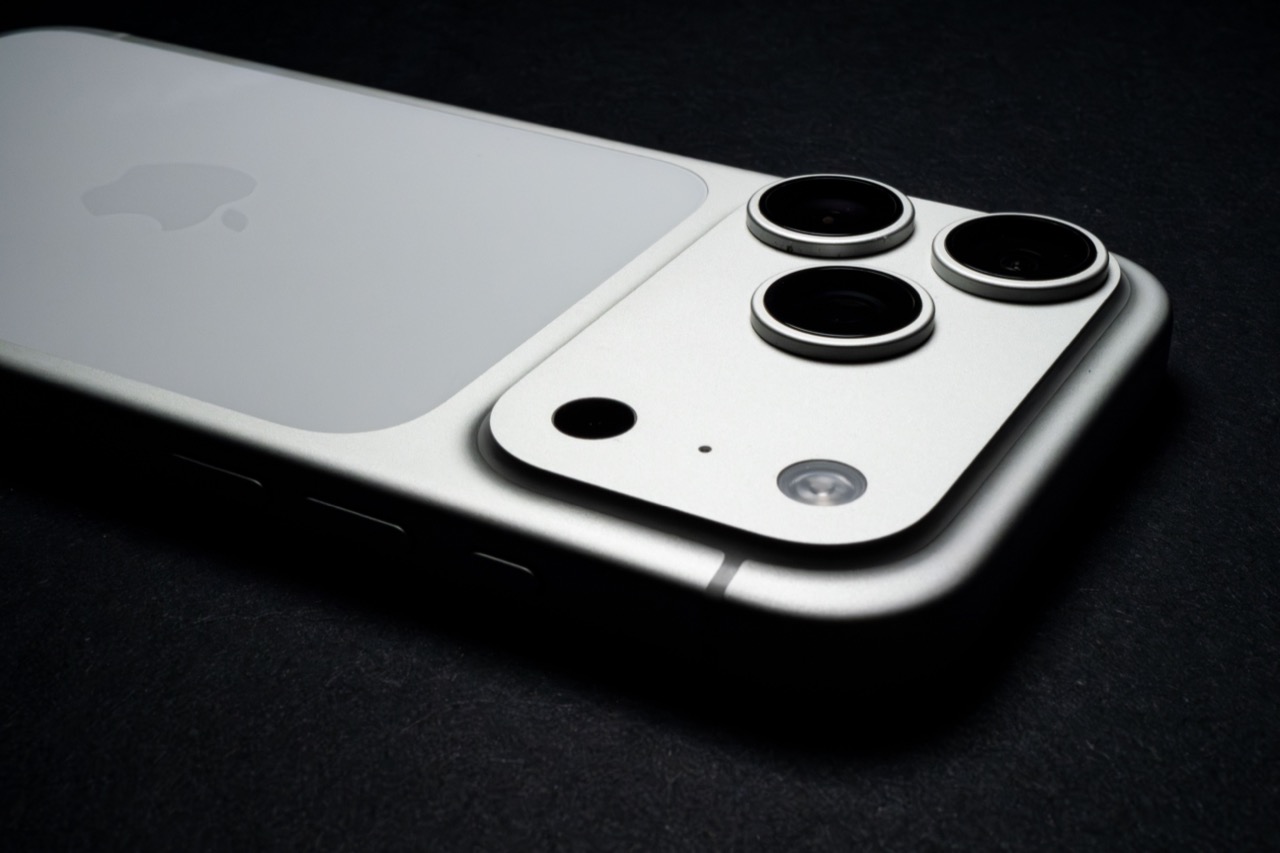
The lens protectors on recent iPhone models cover individual lenses rather than the entire camera module, which means alignment tolerance is tight. A millimeter of off-centering is visible, and once the protector is down it’s either perfectly centered or obviously not.
Most quality lens protectors are designed with alignment guides — either a frame that positions the protector over the lens, or an adhesive carrier that peels away once the protector is in place. If your protector came with a positioning frame, use it. The extra step exists because freehand placement at this scale is unreliable.
If you’re placing without a frame, the approach that works is to position the protector hovering just above the lens first, confirm the alignment visually from directly above, then lower it straight down without sliding. Any lateral movement after contact moves the protector and disrupts the adhesive layer on one side.
Pressing Too Hard Too Soon
The instinct when applying any adhesive item is to press firmly to make it stick. With lens protectors, pressing hard before you’ve confirmed there’s nothing under the glass locks in any dust or misalignment that’s present.
The right sequence is light contact first, a visual check from multiple angles, then gradual pressure from the center outward using the included applicator or a clean microfiber cloth. The gradual center-outward press pushes any remaining air toward the edges rather than trapping it in the middle. If you see a small bubble working toward an edge, it will usually disappear on its own within a few hours as the adhesive settles.
Bubbles that stay after 24 hours are either dust (won’t move) or an adhesive separation (also won’t move). Both require removal and reinstallation.
Removing a Failed Protector Without Breaking It
If the first installation goes wrong, the question is whether the protector is salvageable for a second attempt. Tempered glass lens protectors are thin enough that the wrong removal technique breaks them. The right technique is a flat object — a credit card or the removal tool that came in the kit — worked slowly under one edge at a very shallow angle, bending the protector away from the lens gradually rather than trying to peel it up by a corner.
Grabbing a corner with a fingernail and pulling upward puts point stress on the glass and frequently causes it to crack. Working flat under the edge distributes the force across more surface and keeps the protector intact.
Once removed, place the protector adhesive-side-up on a clean surface and inspect it. If the adhesive is clean, another attempt is possible after cleaning the lens surface. If the adhesive picked up dust or lint, the protector probably can’t be reused without something getting under it on the second attempt.
Cleaning the Lens Before Reinstallation
The lens surface needs to be clean before any second attempt, and the cleaning sequence matters. Start with the dry microfiber cloth to remove loose particles — dragging a cloth over a lens that has grit on it scratches the sapphire. Then use the alcohol prep wipe that came with most lens protector kits to cut any oils or residue. Let it fully evaporate before proceeding; applying over damp alcohol residue creates adhesion issues.
If the kit didn’t include an alcohol prep wipe, a lens cleaning wipe from a glasses kit works. Paper towel and household spray cleaner don’t — paper towel leaves fibers, and most household cleaners leave a residue that interferes with the adhesive.
Case Compatibility After Installation
One failure mode that doesn’t show up during installation but shows up immediately after is case incompatibility. Some iPhone cases, particularly those with tight tolerances around the camera module, press against lens protectors and either push them off over time or create visible pressure marks at the edge of the protector.
This is worth checking before you install, not after. If you’re using a case, put the empty case on the phone first and look at how much clearance exists around each lens. A case that sits flush against the lens housing with no gap will probably conflict with a protector that adds any thickness.
Quality iphone camera cover options are designed with this in mind — thickness specifications exist so you can check against your specific case before installation rather than discovering the conflict after the protector is already on.
What a Good Installation Actually Looks Like
When everything goes right, the lens protector is invisible in use. You shouldn’t be able to feel the edge when running a finger across the camera module, there are no visible bubbles or dust spots at normal viewing distance, and the lens image seen from the front looks identical to the unprotected lens.
That result is achievable on a first attempt if the environment is controlled, the alignment step isn’t rushed, and pressure is applied gradually. The process rewards patience in the setup phase more than skill during the actual application.